Picture this: I was halfway through a midnight snack run, the fridge was a barren desert, and my friend dared me to whip up something that would make the kitchen smell like a fiesta. I grabbed a handful of ground beef, a dash of curiosity, and a whole lot of hope. The result? A dish that turned my humble apartment into a Cuban street market. Trust me, if you’ve ever stared at a bag of ground beef and felt a pang of culinary dread, this is the antidote you’ve been waiting for. It’s not just a recipe; it’s a culinary confession that I’ll be honest — I ate half the batch before anyone else got to try it.
When the first sizzle hit the pan, the air filled with a savory perfume that made my taste buds do a happy dance. The green pepper and onion released a sweet, caramelized aroma that mingled with the earthy scent of garlic, creating a heady bouquet that was almost too good to eat. The sound of the meat searing was a rhythmic drumbeat, echoing the beat of a Latin parade in my kitchen. Every bite was a burst of flavor, a symphony of textures from the crunchy filo to the tender, juicy filling. That sizzle when it hits the pan? Absolute perfection.
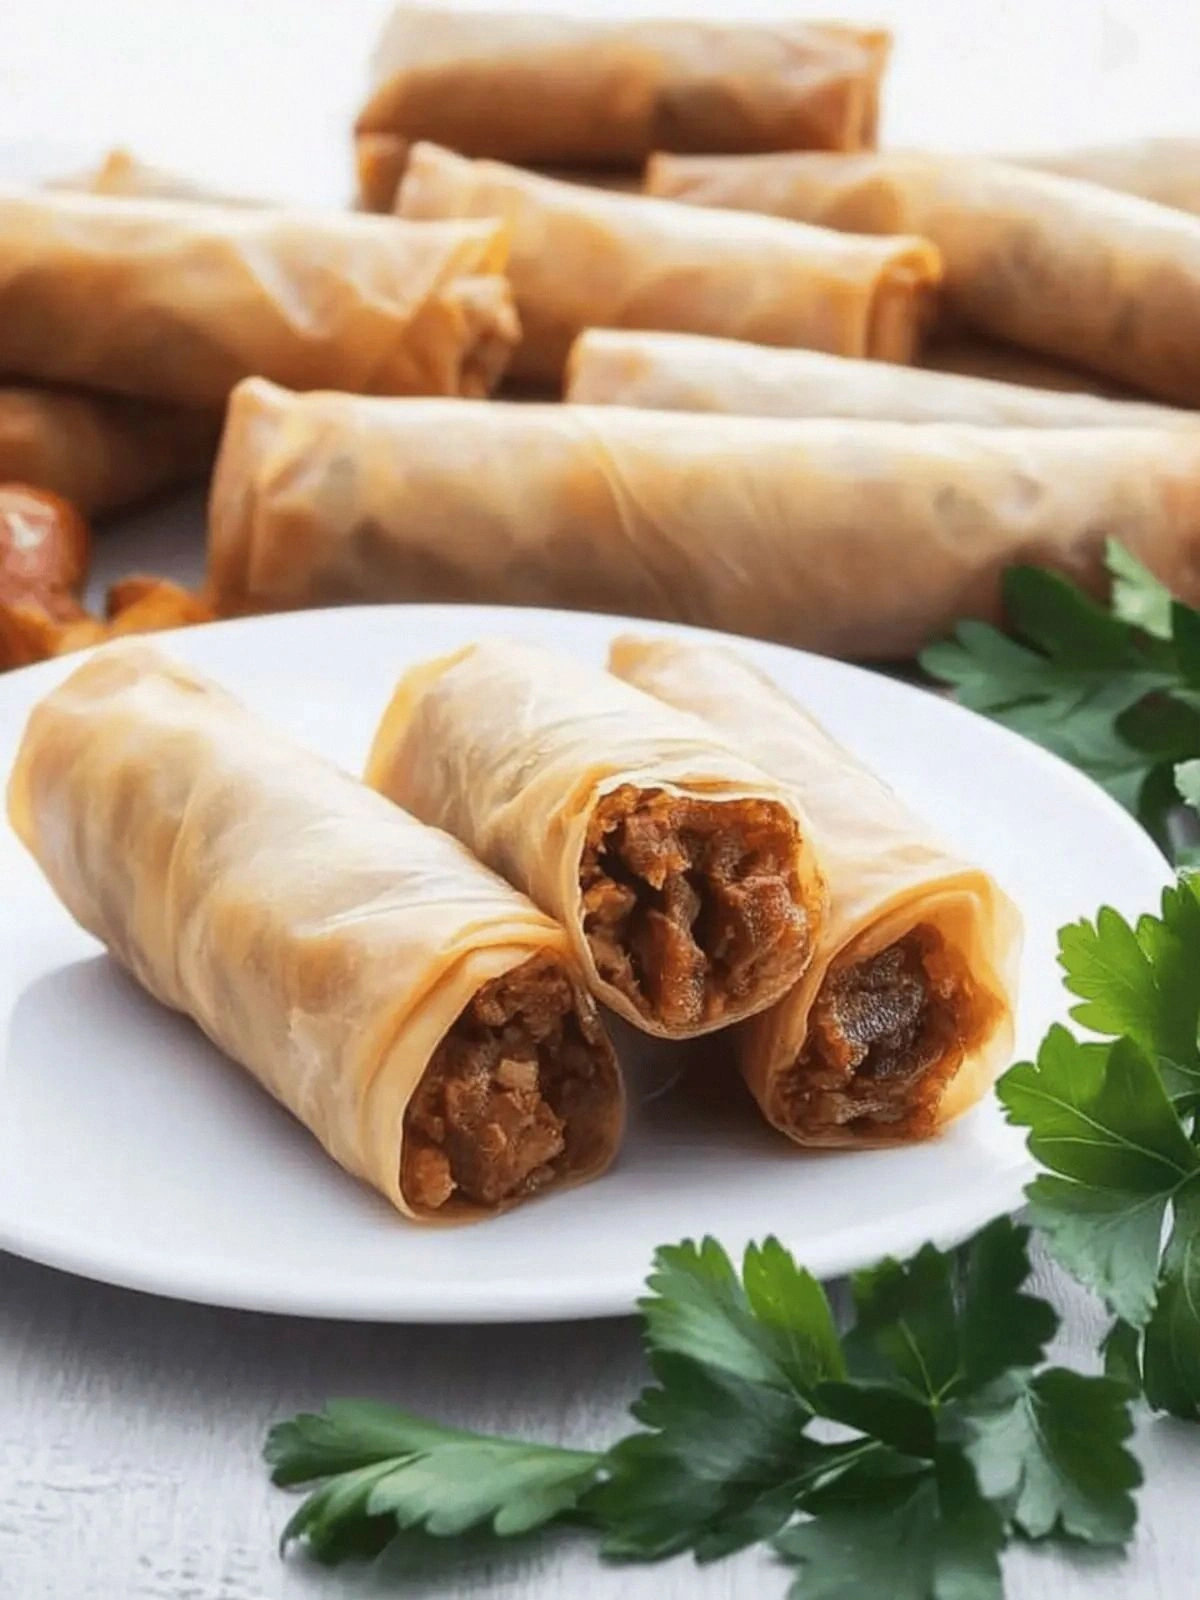
What makes this version stand out is that it’s hands down the best version you'll ever make at home. I dared you to taste this and not go back for seconds, and I’m pretty sure you’ll feel the same way. The secret lies in a blend of humble ingredients that are elevated by a few bold moves: the use of olive juice for an extra layer of brightness, the inclusion of raisins for a subtle sweetness, and the meticulous layering of filo that gives a crispy bite that shatters like thin ice. Most recipes get this completely wrong, but here’s what actually works. Picture yourself pulling this out of the oven, the whole kitchen smelling incredible, and the guests lining up for a second helping.
Let me walk you through every single step — by the end, you'll wonder how you ever made it any other way. The journey begins with a humble mixture of spices and aromatics, then moves into a slow, patient simmer that builds depth and richness. The final assembly is a delicate dance of filo dough and savory filling, folded into cigar-shaped masterpieces that bake to a golden crisp. The result is a dish that feels like a celebration in every bite, a perfect balance of crunch and tenderness that will have your friends asking for the recipe. Stay with me here — this is worth it.
What Makes This Version Stand Out
- Taste: The combination of Sazon Goya, tomato paste, and a splash of white wine creates a depth of flavor that is both robust and nuanced. The raisins add a surprising sweet contrast that keeps every bite interesting.
- Texture: The filo dough is layered and brushed with butter, resulting in a crisp exterior that gives way to a juicy, savory center. The contrast between the crunch and the tender filling is a highlight.
- Simplicity: Despite the many moving parts, the recipe uses only a handful of pantry staples and fresh produce. Anyone can pull this off with a standard set of kitchen tools.
- Uniqueness: The use of olive juice and pimento‑stuffed green olives gives the dish a distinctly Cuban flavor that sets it apart from typical beef cigars.
- Crowd Reaction: At my last gathering, the first bite caused a chorus of “wow” and a unanimous vote for a second round. It’s the kind of dish that turns a casual dinner into a memorable event.
- Ingredient Quality: Choosing a lean ground beef with a slight fat content keeps the filling moist, while fresh peppers and onions provide a bright counterpoint to the richness.
- Cooking Method: The slow simmer of the filling allows the spices to meld, and the baking step ensures a uniform crispness that’s hard to achieve with quick-fry methods.
- Make‑Ahead Potential: You can assemble the cigars and refrigerate them for up to 24 hours before baking, which is perfect for busy weeknights or weekend gatherings.
Inside the Ingredient List
The Flavor Base
The foundation of this dish is built around a vibrant medley of aromatics and spices. Olive oil, when heated, releases the oils from the garlic and onions, creating a fragrant base that carries the Sazon Goya throughout the filling. If you skip the Sazon, the dish loses that unmistakable Cuban punch; the cumin and coriander notes are what give it its character. A good tip: use a medium‑heat pan to avoid burning the garlic, which would turn the base bitter.
Sazon Goya is a blend of coriander, annatto, and other spices that provide both color and flavor. Its annatto content gives a subtle warmth that complements the tomato paste. If you’re allergic to annatto, you can replace it with a pinch of smoked paprika for a smoky undertone. Choosing a fresh, high‑quality Sazon is key; older blends can taste flat and lose their vibrant color.
The Texture Crew
Filo dough is the star of the show, delivering that coveted crispy bite. Its thinness requires careful handling; too much butter or liquid will make it soggy. The olive juice and water are added to the filling to keep it moist, but they also help to bind the ingredients together. If you forget to whisk the filling, the result can be unevenly textured and less cohesive.
The parboiled potato adds a subtle earthiness and a hint of creaminess to the filling. It also helps to thicken the mixture, preventing it from falling apart when you roll it into cigars. You can substitute the potato with cooked sweet potato for a sweeter twist, but keep the texture in mind; too much moisture can compromise the crispness.
The Unexpected Star
Raisins are the unexpected star that brings a burst of natural sweetness to every bite. They balance the savory and spicy elements, creating a harmonious flavor profile. If you prefer a less sweet version, you can reduce the raisins to a quarter cup or omit them entirely. The key is to taste the filling as you go; the raisins should complement, not overpower.
Pimento‑stuffed green olives add a briny, slightly sweet flavor that cuts through the richness of the beef. Their bright green color also adds a pop of visual appeal. If you’re not a fan of olives, you can replace them with capers for a sharper, more pronounced brine. Just keep the quantity consistent to maintain the flavor balance.
The Final Flourish
White wine is used to deglaze the pan, lifting the browned bits that carry flavor into the sauce. It also adds acidity, which brightens the overall dish. If you’re avoiding alcohol, a splash of apple cider vinegar or a dash of lemon juice can substitute while still providing the necessary acidity.
Butter, the final flourish, is brushed onto the filo to create a golden, flaky exterior. It also adds a silky richness that balances the lean beef. Using clarified butter can help achieve a higher smoke point, preventing the butter from burning during baking.
Everything's prepped? Good. Let's get into the real action...
The Method — Step by Step
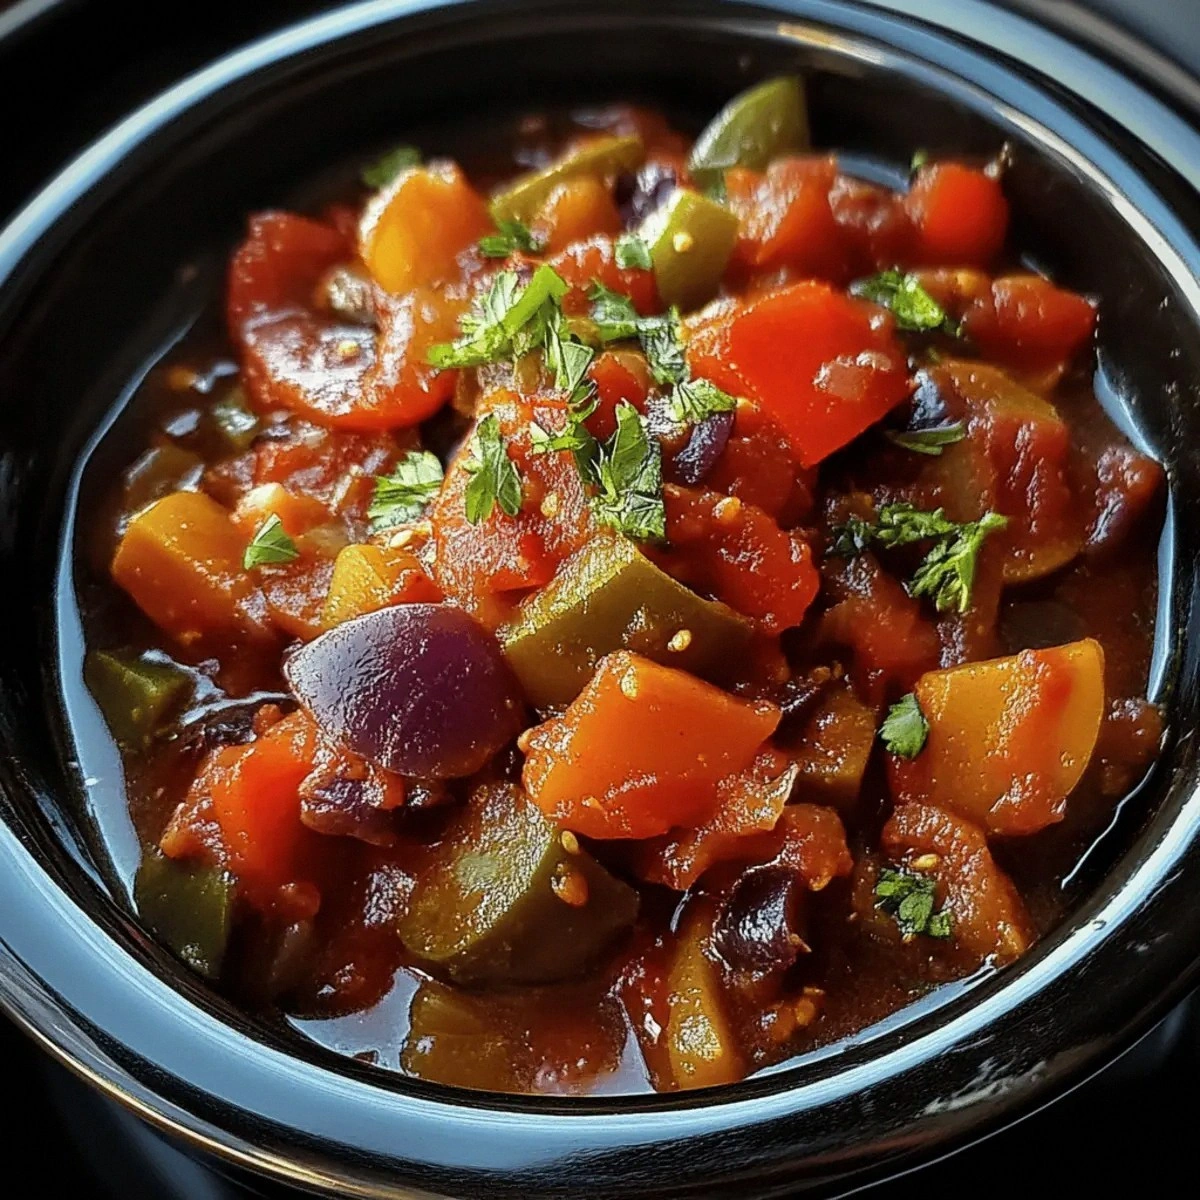
- Step 1: Sauté the aromatics. Heat the olive oil in a large skillet over medium heat. Add the diced green pepper and onion, cooking until translucent and fragrant, about 5 minutes. Stir in the minced garlic and cook for an additional minute until the aroma intensifies. This is the moment of truth; the base should smell toasty and inviting.
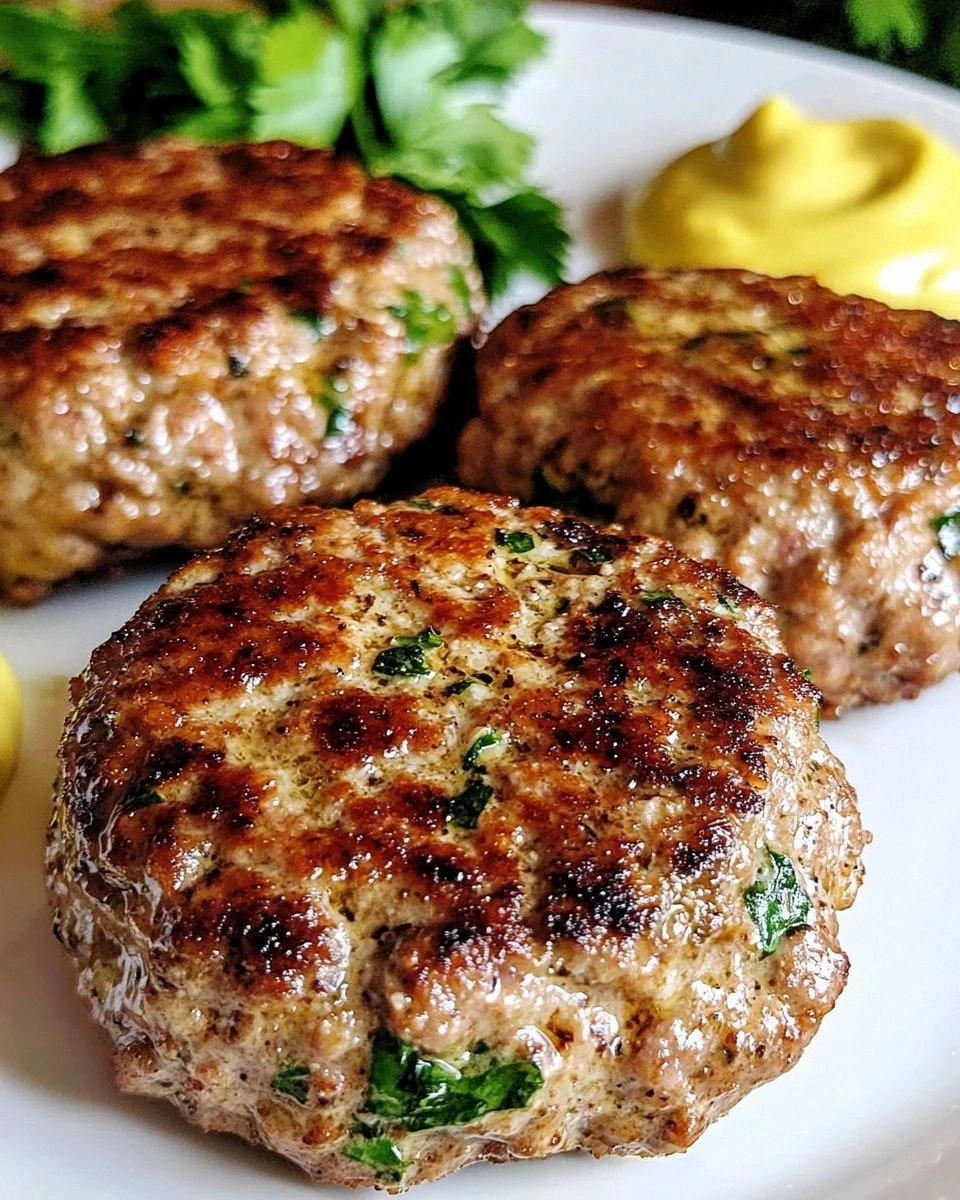
- Step 2: Brown the beef. Increase the heat to medium‑high and add the ground beef to the skillet. Break it up with a wooden spoon, cooking until it’s no longer pink and starts to brown, roughly 8 minutes. Sprinkle in the Sazon Goya and stir to coat the meat evenly. The beef should develop a deep brown color, signaling that the flavors are locking in.
- Step 3: Add the tomato elements. Stir in the tomato paste, then pour in the white wine to deglaze the pan, scraping up any browned bits. Add the tomato sauce and let the mixture simmer for 10 minutes, allowing the flavors to meld. The sauce should thicken slightly and coat the back of a spoon. Kitchen Hack: Keep the heat on medium to avoid scorching the tomato paste; a gentle simmer brings out its natural sweetness.
- Step 4: Incorporate the olives and raisins. Fold in the pimento‑stuffed green olives and raisins, letting them warm through for a minute. Add the bay leaves, then stir in the parboiled potato, olive juice, and water. This combination keeps the filling moist and adds a subtle brightness. The mixture should feel cohesive and slightly thickened.
- Step 5: Season and reduce. Season the filling with salt and pepper to taste. Let the mixture simmer uncovered for another 15 minutes, allowing the liquid to evaporate and the flavors to concentrate. Watch out: if the mixture gets too dry, add a splash of water to keep it from burning on the bottom. The filling should be thick enough to hold its shape when rolled.
- Step 6: Prepare the filo sheets. While the filling rests, lay the filo dough on a clean surface. Brush each sheet lightly with melted butter, layering them to keep the sheets from sticking. Keep the filo covered with a damp towel to prevent drying. This step ensures a flaky, golden exterior.
- Step 7: Assemble the cigars. Spoon a generous amount of the beef mixture onto the center of each filo sheet, leaving a small border. Fold the sides over and roll tightly, sealing the edge with a dab of butter or beaten egg. The cigars should be snug but not overly tight to allow steam to escape during baking. The edges will start pulling away, forming a neat cigar shape.
- Step 8: Bake to perfection. Preheat the oven to 375°F (190°C). Arrange the cigars on a parchment‑lined baking sheet, spacing them evenly. Brush the tops with more melted butter to promote browning. Bake for 25–30 minutes, or until the filo is a deep golden brown and crisp. The aroma that fills the kitchen will make your mouth water.
- Step 9: Serve and enjoy. Let the cigars rest for 5 minutes before slicing. Serve warm, accompanied by a crisp side salad or a small bowl of marinara for dipping. The first bite will deliver a crunch that shatters like thin ice, followed by a burst of savory, sweet, and slightly briny flavors. I dare you to taste this and not go back for seconds.
That's it — you did it. But hold on, I've got a few more tricks that'll take this to another level...
Insider Tricks for Flawless Results
The Temperature Rule Nobody Follows
Many cooks think that a higher oven temperature will make the filo crispier, but it actually risks burning the filling. A steady 375°F (190°C) allows the filo to puff up slowly while the filling cooks evenly. If you’re using a convection oven, reduce the temperature by 25°F to avoid over‑browning.
Why Your Nose Knows Best
Your nose is a reliable indicator of doneness. As the cigars bake, the scent of toasted butter and caramelized onions will fill the air. When the aroma is rich and slightly nutty, you know the filo is golden and ready. If the smell leans towards burnt, pull them out and let them cool for a few minutes.
The 5‑Minute Rest That Changes Everything
Letting the cigars rest after baking allows the juices to redistribute, preventing a dry center. A short 5‑minute rest also lets the filo firm up slightly, making slicing easier. If you slice too quickly, the filling may spill out, ruining the crispness.
Keep the Filo Moist
If you notice the filo drying out during the assembly, sprinkle a light mist of water on the sheets. This will keep the layers from sticking and maintain a flaky texture. A damp towel is your best ally in preventing the dough from cracking.
The Secret of the Olive Juice
Olive juice adds a subtle, grassy brightness that lifts the entire dish. It also acts as a natural emulsifier, helping the filling hold together. If you don’t have olive juice on hand, a splash of extra‑virgin olive oil can substitute, though it won’t provide the same acidic punch.
Make‑Ahead Magic
Assemble the cigars the night before and refrigerate them. Cover tightly with plastic wrap to keep the filo from drying. When you’re ready to bake, let them sit at room temperature for 15 minutes to prevent condensation. This trick saves time and ensures a crisp finish.
Creative Twists and Variations
This recipe is a playground. Here are some of my favorite ways to switch things up:
Mediterranean Medley
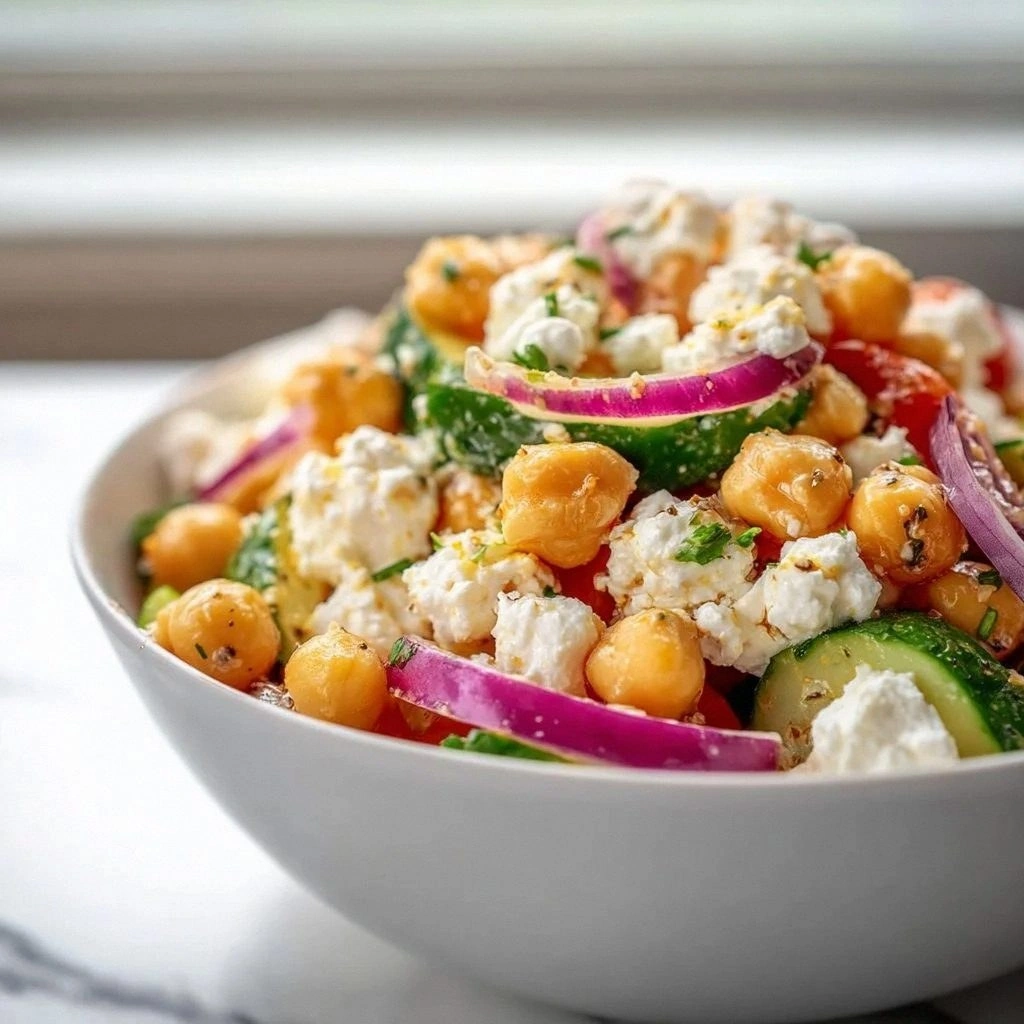
Swap the ground beef for ground lamb and add chopped sun‑dried tomatoes and Kalamata olives. The lamb’s rich flavor pairs beautifully with the briny olives, creating a Mediterranean vibe. Serve with a dollop of tzatziki for an extra layer of freshness.
Spicy Chipotle Kick
Add a tablespoon of chipotle in adobo sauce to the filling for a smoky heat. Keep the raisins but reduce them to a quarter cup to balance the spice. This version is perfect for those who love a fiery twist.
Vegetarian Delight
Replace the beef with a mixture of finely chopped mushrooms, lentils, and quinoa. Use a vegetable broth instead of white wine, and add a pinch of smoked paprika. The earthy flavors will satisfy even the most discerning vegetarian palates.
Sweet and Savory Fusion
Increase the raisins to a full cup and add chopped dried apricots. Replace the olives with chopped pickled onions for a tangy crunch. This version is a sweet‑savory fusion that works well as a party appetizer.
Cuban Classic Revisited
Incorporate a splash of sweet white wine and a dash of cumin for a more traditional Cuban flavor profile. Add a handful of chopped cilantro after baking for a fresh herbaceous finish. This twist pays homage to the dish’s roots.
Gourmet Truffle Twist
Finish the filling with a tablespoon of truffle oil and sprinkle truffle salt on top before baking. The earthy aroma of truffle will elevate the dish to a gourmet level. Pair with a glass of aged red wine for a decadent experience.
Storing and Bringing It Back to Life
Fridge Storage
Store the assembled cigars in an airtight container in the refrigerator for up to 48 hours. Keep them on a parchment sheet to prevent sticking. When ready to serve, reheat in a 350°F (175°C) oven for 10 minutes to restore crispness.
Freezer Friendly
Freeze the assembled cigars on a parchment‑lined tray for 1–2 hours, then transfer to a freezer bag. They can be stored for up to 3 months. Thaw in the refrigerator overnight before baking at 375°F (190°C) for 20–25 minutes.
Best Reheating Method
The key to a revived crisp is a brief, hot oven bake. If the cigars have been refrigerated, add a splash of water to the bottom of the baking sheet to create steam, which keeps the interior moist. Bake until the filo is golden again, then let them rest for 5 minutes before serving.