I was standing in a cramped kitchen, surrounded by the hum of the fridge, the clatter of a cutting board, and the sweet scent of melted cheese, when a friend dared me to create a dip that could outshine the classic queso at any party. The challenge was simple: make something zesty, creamy, and crowd‑pleasing, but I had one rule—no blandness, no over‑cooked cheese, and definitely no hidden ingredients that would ruin the flavor profile. The moment the pot started to bubble, I felt the heat of anticipation, and the air was thick with the aroma of garlic and fresh jalapeños dancing together. I could almost hear the room erupting in cheers when the first bite hit the tongue, a burst of tang and spice that would leave everyone craving more. I’m not going to sugarcoat it: I was terrified of failing, but the stakes were high, and I knew this dip would become a staple for my future gatherings. Let me walk you through every single step—by the end, you’ll wonder how you ever made it any other way.
The first time I tried a store‑bought dip, the texture was gummy, the flavor flat, and the heat was an after‑thought. I remember the disappointment of taking a bite and feeling like I’d swallowed a lump of regret. That moment sparked a determination to create something that would make people gasp, laugh, and ask for the recipe. I experimented with different cheeses, spices, and techniques until I found the perfect balance—smoothness that coats the palate like velvet, a kick that lands like a punch, and a bright citrus finish that lifts the entire dish. The result? A dip that is both a crowd‑pleaser and a conversation starter. I’ll be honest—once I tasted it, I ate half the batch before anyone else got to try it. Now, let’s dive into the details that make this dip stand out.
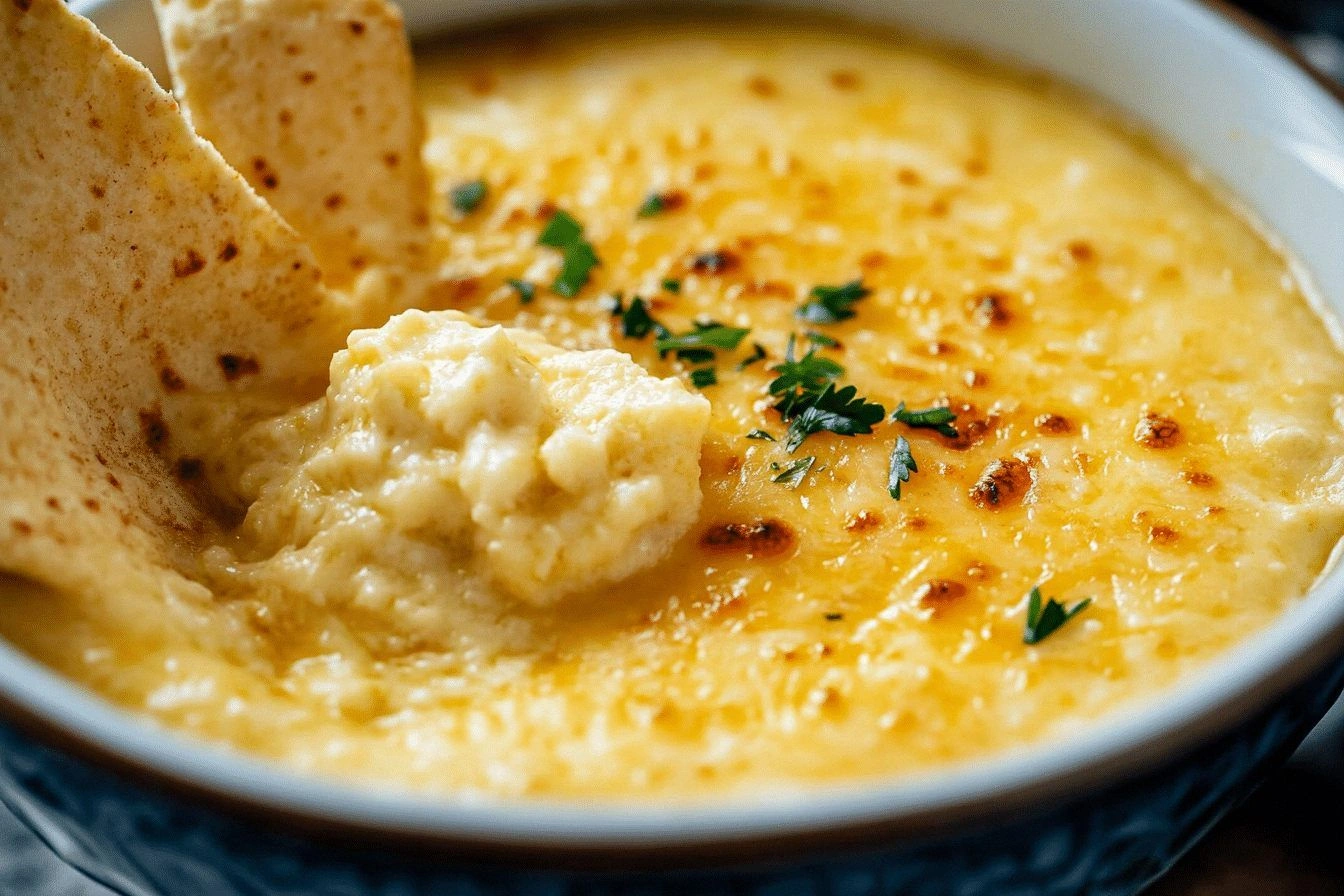
Picture yourself pulling this out of the oven, the whole kitchen smelling incredible, the steam rising like a cloud of anticipation. The first thing you’ll notice is the glossy sheen of melted cheese, the bright green of jalapeños, and the subtle glow of lime juice. The sound is unmistakable—a gentle hiss as the mixture heats, followed by the satisfying pop of steam. The aroma is a complex blend of savory, spicy, and citrusy notes that will have your guests lining up for a taste. The texture is silky, yet the jalapeños give a delightful crunch that breaks the monotony. This isn’t just a dip; it’s an experience that will keep people coming back for more.
I dare you to taste this and not go back for seconds. The bold claim is simple: this is hands down the best version you'll ever make at home. Most recipes get this completely wrong by over‑cooking the cheese or using too much salt. Here’s what actually works: a balanced blend of creamy, spicy, and citrusy flavors that mingle without overpowering each other. If you've ever struggled with a dip that turns out too runny or too thick, you're not alone—and I've got the fix. Stay with me here—this is worth it. The next part? Pure magic.
Okay, ready for the game‑changer? The secret lies in the ingredients, the technique, and the timing. I’ll show you how to build layers of flavor that keep your guests guessing. From the first stir to the final garnish, each step is designed to elevate the dip from ordinary to extraordinary. I’ve packed this article with practical tips, hacks, and a few surprises that will keep your taste buds on their toes. Let’s get started and turn your kitchen into a flavor laboratory.
What Makes This Version Stand Out
Texture: The creamy base of cream cheese and sour cream creates a velvety mouthfeel that clings to chips and veggies like a second skin. This smoothness is achieved by melting the cheese slowly over low heat, preventing separation and ensuring a uniform consistency.
Heat: Fresh jalapeños provide a bright, grassy heat that is far more nuanced than canned or pickled varieties. The heat is evenly distributed because the jalapeños are finely diced, allowing each bite to feel balanced rather than one spot exploding.
Zest: A generous splash of lime juice adds a citrusy zing that cuts through the richness of the cheese, giving the dip a refreshing lift that keeps it from feeling heavy on the palate.
Savory Depth: Garlic powder and chili flakes introduce layers of savory aroma and subtle heat, creating a complex flavor profile that lingers on the tongue. These spices are added early in the cooking process to allow their flavors to bloom fully.
Freshness: Green onions and jalapeños bring a crisp, fresh crunch that contrasts beautifully with the smooth cheese. This textural contrast elevates the dip from simple to sophisticated.
Make‑ahead Potential: The dip can be prepared a day ahead and reheated with a splash of milk or water, making it ideal for parties where you want to focus on guests rather than the stove.
Versatility: Whether you’re serving it at a backyard barbecue, a holiday gathering, or a casual movie night, this dip adapts effortlessly to any setting. The ingredients are universally available, and the recipe scales easily.
Visual Appeal: The bright green jalapeños and the glossy cheese create a visually stunning dip that looks as good as it tastes, making it a showstopper on any platter.
Alright, let’s break down exactly what goes into this masterpiece. The next section will walk you through each ingredient group and why they matter.
Inside the Ingredient List
The Creamy Core
Cream Cheese: This is the backbone of the dip, providing a silky, rich texture that holds the other flavors together. It’s the first ingredient you’ll melt, and doing it gently ensures no lumps form. If you skip this, the dip will taste thin and lack cohesion. A good tip: use room‑temperature cream cheese for an even melt.
Sour Cream: Sour cream balances the heat and adds a tangy creaminess that brightens the overall profile. It also helps stabilize the cheese blend, keeping it from separating. Without it, the dip could become too thick or clumpy. For a dairy‑free version, substitute with a plant‑based yogurt.
The Cheesy Layer
Shredded Cheddar Cheese: The sharpness of cheddar adds depth and a satisfying melt. Choose a medium‑sharp cheddar for a balanced bite—too mild and it won’t stand out; too sharp and it may dominate. If you prefer a milder dip, switch to mozzarella or a blend of cheddar and Monterey Jack. This cheese should be added after the cream cheese to create a layered melt.
Garlic Powder: Garlic powder offers a savory, aromatic touch without the clumpy texture of fresh garlic. It’s an excellent way to infuse the dip with depth, especially when you’re short on time. If you’re sensitive to garlic, reduce the amount or omit it entirely—just be aware the dip will lose some of its savory punch.
The Heat Factor
Jalapeños: Fresh jalapeños give a bright, grassy heat that is far more nuanced than canned or pickled varieties. Dice them finely to ensure even heat distribution. If you prefer a milder kick, remove the seeds and membranes. The fresh flavor also adds a pop of color and texture.
Chili Flakes: Optional but perfect for extra spice and color. Sprinkle them on top or mix them in for a subtle heat that lingers. They also give the dip a vibrant hue that makes it visually appealing. If you’re cooking for kids, reduce or omit the flakes.
The Fresh Finish
Lime Juice: Lime juice offers a citrusy zing that brightens up the dip, cutting through the richness of the cheeses. Use freshly squeezed lime for the best flavor—store‑bought juice can taste flat. A good rule of thumb is to add lime juice at the end of cooking to preserve its bright acidity.
Green Onions: Green onions add freshness and a slight crunch, providing a textural contrast to the creamy base. Slice them thinly so they distribute evenly. If you don’t have green onions, scallions or chopped cilantro can serve as a suitable substitute.
Salt and Pepper: Essential for seasoning and enhancing all the flavors. Start with a teaspoon of salt and a half teaspoon of pepper for four servings, and adjust to taste. Too much salt can overwhelm the delicate balance; too little can make the dip taste flat.
Everything's prepped? Good. Let's get into the real action and start cooking.
The Method — Step by Step
- Step 1: Prepare the Base. In a medium saucepan, combine the cream cheese and sour cream. Warm over low heat, stirring constantly, until the mixture is smooth and just beginning to melt. The key is patience—rushing this step can cause the cheese to seize and become grainy. Keep the heat low to maintain a silky texture.
- Step 2: Add the Cheddar. Gradually fold in the shredded cheddar, a handful at a time, allowing each addition to melt fully before adding the next. The cheese should melt into a glossy, cohesive mixture that coats the back of a spoon. If the mixture looks too thick, add a splash of milk or water to thin it slightly.
- Step 3: Introduce the Spices. Sprinkle in the garlic powder, chili flakes, and a pinch of salt. Stir until the spices are evenly distributed. The aroma should shift from sweet to savory, signaling that the flavors are coming together. This is the moment of truth—you’ll know it’s working when the scent is unmistakably cheesy.
- Step 4: Incorporate the Jalapeños. Add the diced jalapeños to the pot, stirring to coat them with the cheese mixture. The jalapeños should mingle without dominating. Keep the heat low; you want the heat to bloom, not burn. The mixture should be thick but pourable.
- Step 5: Finish with Lime Juice. Remove the pan from heat and stir in the lime juice. The acidity will brighten the dip and add a subtle tang. Taste and adjust seasoning—add more salt or pepper if needed. The dip should have a balanced profile: creamy, spicy, and citrusy.
- Step 6: Transfer to a Serving Dish. Pour the dip into a shallow, oven‑proof dish. The surface should be smooth and glossy, ready for the final touch. If you like a crust, preheat your oven to 350°F (175°C) and bake for 10 minutes until the top is slightly golden.
- Step 7: Garnish. Sprinkle sliced green onions and an extra pinch of chili flakes on top for color and extra heat. The fresh green will contrast beautifully with the golden top. This garnish also adds a slight crunch and a pop of freshness.
- Step 8: Serve. Let the dip cool slightly to room temperature before serving. It pairs perfectly with tortilla chips, pita wedges, sliced vegetables, or crusty bread. The dip should be warm enough to melt on contact but not so hot that it burns your hands.
- Step 9: Keep Warm. If you’re hosting a large crowd, keep the dip warm in a slow cooker set to low. A slow cooker will maintain an even temperature without drying the dip. Alternatively, you can place the dish in a larger pot of warm water (a bain‑marie) to keep it gently heated.
- Step 10: Enjoy. Serve immediately with your favorite chips or veggies. Watch the guests line up for a taste, and remember the moment you dared yourself to create something extraordinary. This dip will become a staple in your culinary repertoire.
Insider Tricks for Flawless Results
The Temperature Rule Nobody Follows
Cheese melts best at low temperatures. Heating the mixture too quickly can cause the proteins to denature, resulting in a greasy, separated texture. Keep the heat on low and stir constantly, allowing the cheese to melt gently. This trick ensures a silky, cohesive dip that stays smooth throughout the event.
Why Your Nose Knows Best
Before tasting the dip, inhale deeply. Your nose can detect the balance of spices, salt, and acidity. If the aroma feels too heavy on one note, adjust accordingly. This sensory check is a reliable way to fine‑tune the flavor profile before serving.
The 5‑Minute Rest That Changes Everything
After removing the dip from heat, let it rest for five minutes. This pause allows the flavors to meld and the heat to distribute evenly. It also prevents the dip from being too hot when served, which could burn the palate. A short rest is a small time investment for a big flavor payoff.
Keep It Moist, Not Dry
If you’re reheating the dip, add a splash of milk or water before warming. This simple trick reintroduces moisture, preventing the cheese from becoming rubbery or dry. Gently heat on low, stirring until the dip is smooth and warm.
Use a Double Boiler for Extra Control
A double boiler offers precise temperature control, preventing the cheese from scorching. The gentle steam cooks the mixture evenly, ensuring a silky texture. If you don’t have a double boiler, a heat‑resistant bowl over a pot of simmering water works just as well.
Add a Touch of Sweetness
A teaspoon of honey or maple syrup can balance the heat and acidity, giving the dip a rounded finish. The natural sweetness complements the sharp cheddar and bright lime, creating a harmonious flavor profile. Use this trick if you’re serving the dip to guests who prefer a milder taste.
Creative Twists and Variations
This recipe is a playground. Here are some of my favorite ways to switch things up:
Mexican Street Tacos Dip
Swap the cheddar for a blend of pepper jack and Monterey Jack. Add a handful of diced tomatoes, corn kernels, and a splash of salsa. This variation gives the dip a street‑food vibe that’s perfect for taco nights.
Mediterranean Herb Dip
Replace jalapeños with sun‑dried tomatoes and add chopped fresh oregano, thyme, and a drizzle of olive oil. The result is a savory, herbaceous dip that pairs beautifully with pita or flatbread.
Spicy Buffalo Chicken Dip
Stir in shredded rotisserie chicken and a tablespoon of hot sauce. Finish with a sprinkle of blue cheese crumbles for a tangy twist. This dip is a crowd‑pleaser for game‑day gatherings.
Coconut‑Curry Dip
Add a tablespoon of coconut milk and a teaspoon of curry powder. This exotic version introduces a creamy, tropical flavor that’s a refreshing departure from the classic.
Cheddar & Caramelized Onion Dip
Sauté thinly sliced onions until they’re golden brown and sweet. Fold them into the cheese mixture for a caramelized depth that pairs wonderfully with crackers.
Vegan Cheese Dip
Use a vegan cream cheese substitute and nutritional yeast for a cheesy flavor. Add fresh herbs and a splash of lemon juice for brightness. This version is dairy‑free yet just as indulgent.
Breakfast Dip
Mix in diced ham and a dash of paprika for a savory, breakfast‑style dip. Serve with toasted English muffins or bagel slices for a hearty start to the day.
Summer Berry Dip
Blend in a handful of fresh strawberries and a pinch of sugar for a sweet, tangy dip. This unexpected twist pairs surprisingly well with pretzels and crackers.
Storing and Bringing It Back to Life
Fridge Storage
Cool the dip completely before placing it in an airtight container. Store in the refrigerator for up to 3 days. The dip should remain creamy and flavorful, though the texture may thicken slightly. Before serving, let it sit at room temperature for 10 minutes to soften.
Freezer Friendly
Freezing works well if you need to prepare ahead. Place the dip in a freezer‑safe container, leaving a little headspace. Freeze for up to 2 weeks. Thaw overnight in the refrigerator, then stir until smooth before reheating.
Best Reheating Method
Reheat the dip gently on low heat, adding a splash of water or milk to restore moisture. Stir frequently to prevent scorching. Alternatively, use a bain‑marie for even, gentle heat. The dip should be warm and silky, ready to serve.
Reheating Tips
If the dip has thickened in the fridge, whisk in a tablespoon of warm milk or cream before heating. This step restores the original silky texture and ensures a smooth consistency.
Reheating Safety
Always heat the dip to at least 165°F (74°C) to eliminate any potential bacterial growth. Use a food thermometer to confirm the temperature. This is especially important if the dip has been stored for several days.