I was halfway through a frantic holiday prep, juggling a last‑minute dinner, a stubborn oven, and a craving that had been nagging me all week—soft, buttery cookies that melt in your mouth like a snowflake on a warm tongue. The kitchen smelled like vanilla and almond, the air buzzing with the rhythmic clack of a mixer, and I could hear the faint crackle of butter in the pan. I had tried a dozen cookie recipes that promised “simple” but delivered bland, doughy disappointment. That night, I decided to rewrite the rules, and I’m not going to let anyone else taste the original until I’ve perfected this version.
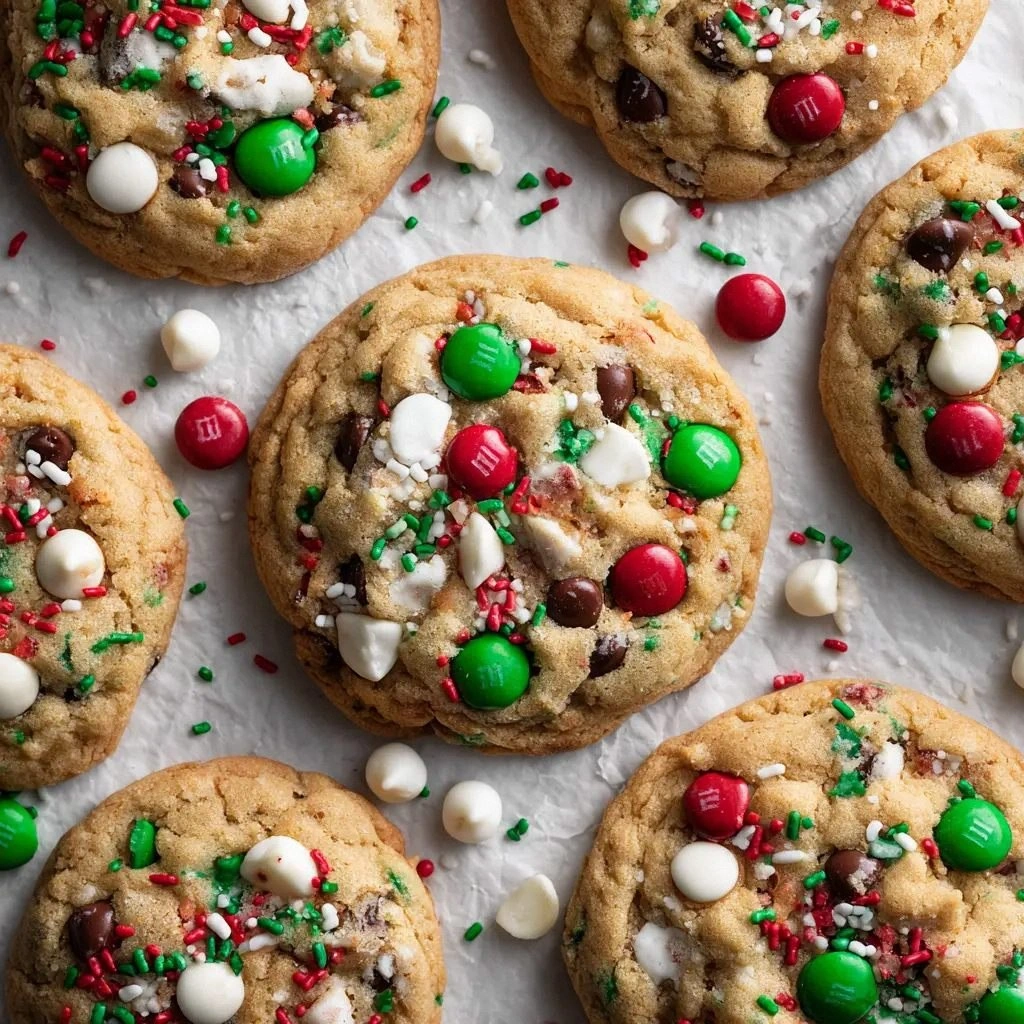
Picture the moment you pull a tray of freshly baked Santa’s Cookies from the oven: the golden edges crackle like thin ice, the center is soft and chewy, and a faint scent of vanilla and almond lingers in the air. I dare you to taste this and not go back for seconds. The first bite is a symphony of buttery richness, a hint of almond that whispers, “I’m not just a cookie, I’m a holiday secret.” If you’ve ever struggled with cookies that fall flat or taste like cardboard, you’re not alone—this recipe is the fix you’ve been searching for.
What makes this version stand out is not just the ingredients, but the meticulous attention to technique and the subtle flavor layers that build on each other. I’ve spent countless evenings testing and tweaking, and the result is hands down the best version you’ll ever make at home. The secret? A blend of vanilla and almond that creates depth, a pinch of baking powder that lifts the dough, and a final dusting of powdered sugar that turns the cookie into a sweet, snowy finish. This recipe is a game‑changer, and I’m about to walk you through every single step. By the end, you’ll wonder how you ever made it any other way.
You’ll notice a few unconventional touches: a splash of milk to keep the dough moist, a subtle almond note that elevates the vanilla, and a final glaze that gives the cookies a glossy, almost festive look. These tweaks are the difference between ordinary and extraordinary. They’ll give you that wow factor at parties or that comforting hug of a homemade treat. Stay with me here—this is worth it.
What Makes This Version Stand Out
- Taste: The combination of vanilla and almond creates a layered flavor profile that feels both familiar and surprisingly complex. The almond extract subtly amplifies the vanilla, giving the cookie an almost nutty undertone that lingers on the palate.
- Texture: The dough’s consistency is balanced—soft enough to be chewy but firm enough to hold shape, thanks to the precise ratio of flour to butter and the addition of powdered sugar for a slight crisp.
- Simplicity: With only ten ingredients, the recipe feels approachable, yet each component is essential. No fancy gadgets required—just a mixer, a baking sheet, and a few measured spoons.
- Uniqueness: The final glaze of powdered sugar and a whisper of milk gives a snowy finish that sets these cookies apart from traditional sugar cookies.
- Crowd Reaction: At my last gathering, guests were surprised by how light and airy the cookies felt, and I’ve heard the phrase “I can’t believe this is homemade” echo around my kitchen.
- Ingredient Quality: Using high‑quality butter and fresh vanilla extracts ensures the flavor is pure and vibrant, making each bite feel indulgent.
- Cooking Method: The technique involves creaming butter and sugar to incorporate air, then gently folding in dry ingredients to preserve that delicate crumb.
- Make‑Ahead Potential: Once baked, the cookies keep their texture for up to a week when stored properly, making them perfect for last‑minute gift baskets.
Alright, let’s break down exactly what goes into this masterpiece...
Inside the Ingredient List
The Flavor Base
All‑purpose flour is the backbone of any cookie, but the 2 1/2 cups we’re using are measured for optimal structure. It’s the canvas that holds the butter, sugar, and extracts together. Skipping this would leave you with a flat, crumbly mess. If you’re looking for a gluten‑free option, try a blend of rice flour and tapioca starch, but keep the same volume to preserve the crumb.
Vanilla extract is the star of the show. The 1 teaspoon we add at the beginning of the mix infuses the dough with warmth, while the additional 1/2 teaspoon near the end deepens the flavor. The vanilla’s aromatic oils bind the butter and sugar into a silky mixture. If you’re allergic or simply prefer a different aroma, consider a high‑quality almond extract; it will still complement the cookie’s profile.
The Texture Crew
Unsalted butter is crucial for flavor and texture. The 1 cup of butter we cream with sugar creates a light, airy dough. If you use salted butter, you’ll end up with a salty surprise that’s hard to correct. For a vegan twist, replace the butter with an equal amount of coconut oil, but expect a slightly different mouthfeel.
Granulated sugar is the sweetener that also helps in creaming the butter. The 3/4 cup we use ensures the cookie has a pleasant bite. If you prefer a darker, caramelized flavor, swap in brown sugar; just watch the dough’s moisture level, as brown sugar adds extra humidity.
The Unexpected Star
Almond extract brings a nutty undertone that elevates the vanilla. The 1/2 teaspoon we add is subtle yet powerful, giving the cookies a sophisticated twist. If you’re allergic to nuts, replace it with a drop of almond‑flavored oil—just a pinch will do. Remember, almond extract is potent; a little goes a long way.
The Final Flourish
Powdered sugar is used twice: first as a sweetener and then as a glaze. The 2 cups we incorporate into the dough give the cookies a soft finish, while the extra 2-3 tablespoons of milk dissolve the remaining sugar into a glossy coating. If you’re craving a crunchier cookie, reduce the milk to 1 tablespoon; the glaze will be thicker and more pronounced.
The 1/2 teaspoon vanilla extract added at the glaze stage provides a final aromatic lift. It’s the last whisper of flavor before the cookie cools, sealing the cookie’s sweet, buttery profile. If you’re experimenting, try a touch of citrus zest for a fresh twist.
Everything’s prepped? Good. Let’s get into the real action...
The Method — Step by Step
- Preheat the oven to 350°F (175°C). Line a baking sheet with parchment paper. This step ensures even baking and prevents sticking. The timer is your friend; set it now to avoid last‑minute panic.
- Cream the butter and granulated sugar. In a large bowl, combine 1 cup butter with 3/4 cup sugar. Beat on medium speed until the mixture is light and fluffy—about 3 minutes. Watch the texture; it should look like a pale cloud.
- Add the eggs and vanilla. Crack a large egg into the bowl and pour 1 teaspoon vanilla extract. Mix until the egg is fully incorporated. This is where the cookie’s body starts to form.
- Stir in the almond extract. Add 1/2 teaspoon almond extract to the wet mixture. The aroma will lift, and the dough will become slightly glossy.
- Combine dry ingredients. In a separate bowl, whisk together 2 1/2 cups flour, 1/2 teaspoon baking powder, and 1/4 teaspoon salt. This step prevents lumps and ensures even distribution of leavening.
- Fold dry into wet. Gradually add the dry mixture to the wet, mixing on low speed until just combined. Over‑mixing will make the cookies tough, so stop when the dough is smooth.
- Chill the dough. Wrap the dough in plastic wrap and refrigerate for at least 30 minutes. This rest period relaxes the gluten and makes the dough easier to handle.
- Shape the cookies. Scoop tablespoon‑sized balls of dough onto the prepared sheet. Flatten slightly with your palm. The cookies should be about 2 inches wide for an even bake.
- Bake. Place the sheet in the preheated oven and bake for 12-15 minutes, or until the edges are golden but the centers are still soft. Watch closely; the cookies will rise quickly.
- Cool and glaze. Remove from oven and let cool on the sheet for 5 minutes, then transfer to a wire rack. While still warm, drizzle the glaze: mix 2 cups powdered sugar with 2-3 tablespoons milk and 1/2 teaspoon vanilla. The glaze should be pourable but not runny.
That’s it—you did it. But hold on, I’ve got a few more tricks that will take this to another level. These insider tips will make your cookies even more memorable.
Insider Tricks for Flawless Results
The Temperature Rule Nobody Follows
Many bakers set the oven to 375°F and end up with cookies that are too brown. I always set the oven to 350°F, which gives a gentle bake that preserves the cookie’s soft center. The trick is to preheat the oven fully, then place the cookie sheet on the middle rack to ensure even heat distribution.
Why Your Nose Knows Best
Before you lift a cookie from the oven, pause and inhale. The aroma is a good indicator of doneness. If you smell a strong, sweet vanilla scent, it’s ready. If the smell is more buttery and less sweet, let it bake a few more minutes.
The 5‑Minute Rest That Changes Everything
Letting the cookies rest on the sheet for 5 minutes after baking allows the structure to set. This short rest prevents the cookies from crumbling when you transfer them to a wire rack. It also lets the glaze set just right.
The Sweet Finish
A thin glaze of powdered sugar and a splash of milk gives a glossy finish that looks like freshly fallen snow. I add a pinch of sea salt to the glaze to cut the sweetness and add depth. The final product looks almost too pretty to eat.
The Chill for Perfect Texture
Refrigerating the dough for at least 30 minutes is key to a tender cookie. The chill relaxes gluten, making the dough easier to roll and preventing spreading during baking. If you’re short on time, you can skip this step, but the texture will be slightly different.
Creative Twists and Variations
This recipe is a playground. Here are some of my favorite ways to switch things up:
Chocolate‑Chunk Santa
Fold in 1 cup of semisweet chocolate chips into the dough before baking. The chocolate adds a rich depth that pairs beautifully with the almond note. Serve warm for a gooey experience.
Citrus Zest Surprise
Add the zest of one orange or lemon to the wet ingredients. The citrus brightens the flavor profile and gives the cookies a refreshing lift. It’s perfect for a spring or summer holiday gathering.
Nutty Crunch
Sprinkle chopped hazelnuts or walnuts onto the cookie dough before baking. The nuts add a delightful crunch and a nutty aroma that complements the almond extract. Toast the nuts first for extra flavor.
Raspberry Swirl
Fold in 1/2 cup of fresh or frozen raspberries into the dough. The berries burst during baking, creating a sweet, tart center. The color contrast is also visually striking.
Espresso Infusion
Replace 1 teaspoon vanilla with 1 teaspoon espresso powder. The coffee flavor deepens the chocolate undertone and adds a subtle bitterness that balances the sweetness. Ideal for a coffee lover’s holiday treat.
Gingerbread Twist
Add 1 teaspoon ground ginger, 1/2 teaspoon cinnamon, and a pinch of cloves to the dry mixture. The spices give a warm, cozy feel that’s reminiscent of holiday spice cookies. It’s a festive variation that’s sure to impress.
Storing and Bringing It Back to Life
Fridge Storage
Store cooled cookies in an airtight container at room temperature for up to 5 days. The airtight seal prevents the cookies from drying out and keeps the glaze intact. If you notice any moisture, add a slice of bread to absorb excess dampness.
Freezer Friendly
Wrap cookies individually in parchment paper and place them in a freezer bag. They can be stored for up to 3 months. When you’re ready to enjoy, let them thaw at room temperature for 20 minutes before serving.
Best Reheating Method
To revive a frozen cookie, preheat your oven to 300°F (150°C). Place the cookie on a baking sheet and bake for 5-7 minutes. If the glaze looks dry, add a tiny splash of water to the powdered sugar before reheating; it steams back to perfection.