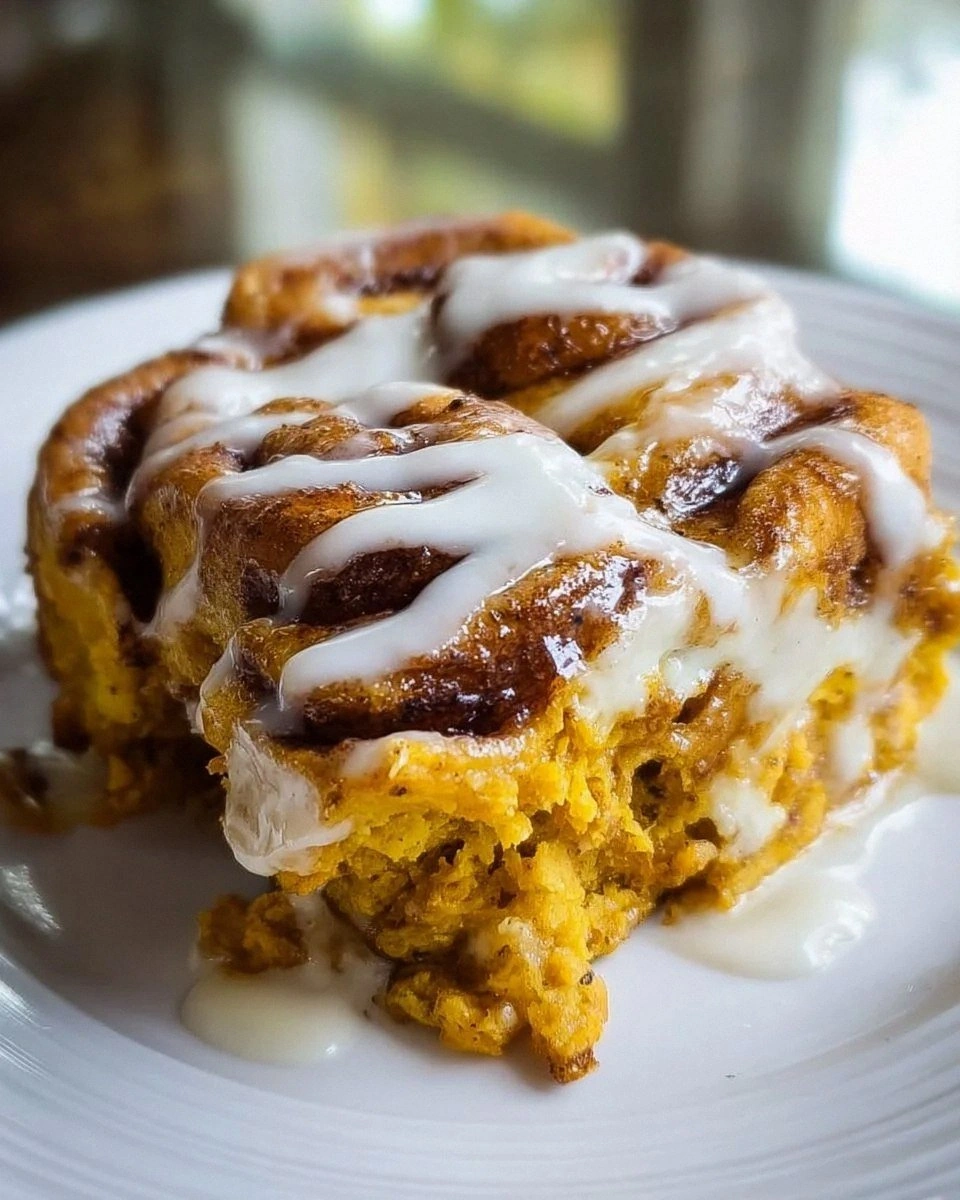
Picture this: it’s a rainy Saturday afternoon, the kind that makes you crave something sweet enough to melt the clouds, yet sturdy enough to hold a fork without crumbling into a puddle. I was hunched over a half‑finished batch of ordinary chocolate chip cookies when a sudden craving for cheesecake hit me like a bolt of lightning. I rummaged through the pantry, found a lone tub of cream cheese, a jar of strawberry jam, and a box of graham crackers, and thought, “What if I could marry the buttery crunch of a cookie with the silky decadence of a cheesecake?” That reckless spark turned into a kitchen experiment that almost burned my eyebrows off, but the result? Hands down the best version you’ll ever make at home.
The moment the dough hit the mixing bowl, the kitchen filled with the warm, nutty perfume of graham crackers mingling with the buttery scent of softened butter. As the sugar dissolved, a caramel‑kissed aroma rose, and when the cream cheese was folded in, it released a velvety perfume that made my mouth water before the first bite even existed. I could hear the faint sizzle of the butter as it melted, feel the dough’s silky texture between my fingers, and taste the promise of sweet, tangy strawberry dancing on my tongue. Every sense was on high alert, and I knew I was onto something spectacular.
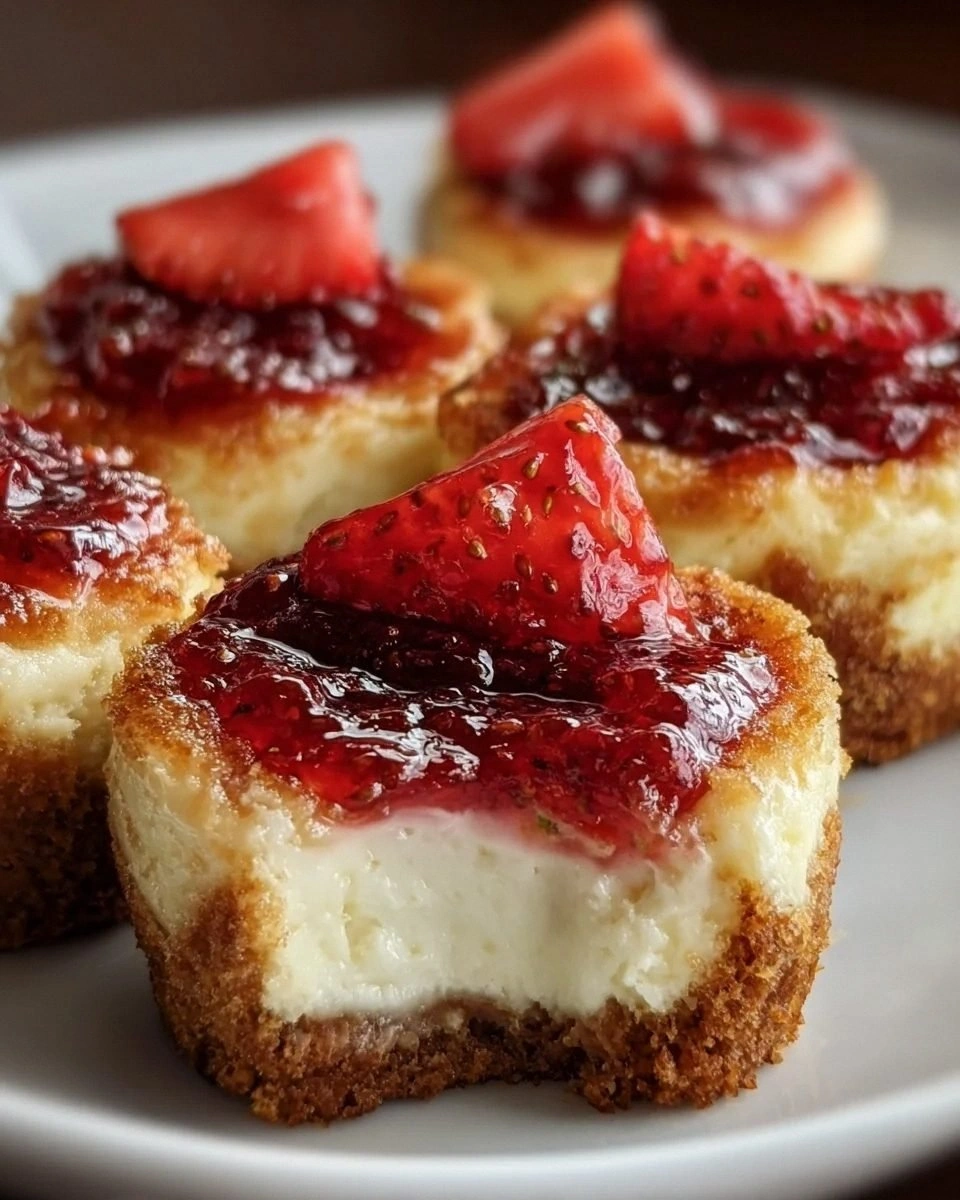
Most cookie recipes either skimp on the cheesecake element or drown the cookie in too much cream cheese, resulting in a soggy mess. I’ve tried those, and I’ll be honest — I ate half the batch before anyone else got to try it, and the rest turned into a sticky disaster. This version, however, balances the crumbly base with a light, airy cheesecake center that holds its shape, while a glossy strawberry topping crowns each bite with a burst of fruitiness. The secret? A precise ratio of graham cracker crumbs to flour, a chilled dough rest, and a quick‑chill trick for the filling that locks in that perfect, melt‑in‑your‑mouth texture.
Okay, ready for the game‑changer? I’m about to walk you through every single step — by the end, you’ll wonder how you ever made cookies any other way. I dare you to taste this and not go back for seconds. Let’s dive in, and remember: this next part? Pure magic.
What Makes This Version Stand Out
- Texture: The cookie base is crisp on the edges yet tender in the middle, while the cheesecake layer stays light and fluffy, creating a delightful contrast that feels like a bite‑sized dessert bar.
- Flavor: A buttery graham‑cracker foundation paired with the tang of cream cheese and the bright, fruity zing of strawberry jam delivers a balanced sweet‑tart profile you won’t find in standard cookies.
- Simplicity: Despite the fancy name, the ingredient list is short, and the method uses everyday kitchen tools—no fancy piping bags or specialty pans required.
- Uniqueness: Most recipes get the cheesecake part completely wrong, turning the cookie into a soggy mess. Here, the chilled filling keeps its shape, and the jam adds a glossy finish that looks as good as it tastes.
- Crowd Reaction: Serve these at a party and watch guests stare in awe, then dive in. I’ve seen people declare they’d trade their favorite dessert for just one more of these.
- Ingredient Quality: Using real graham cracker crumbs and full‑fat cream cheese makes a world of difference—no shortcuts, just pure, honest flavor.
- Cooking Method: A brief bake at a moderate temperature ensures the cookies set without over‑drying the cheesecake, preserving that melt‑in‑your‑mouth feel.
- Make‑Ahead Potential: The cookies can be assembled a day ahead, refrigerated, and baked right before serving, making them perfect for last‑minute gatherings.
Inside the Ingredient List
The Flavor Base
Graham cracker crumbs are the unsung heroes of this recipe, providing a subtle honey‑like sweetness and a delicate crunch that mimics a classic cheesecake crust. If you skip them, you lose that nostalgic flavor and the cookie’s structural integrity, ending up with a flat, bland base. For the best results, crush the crackers in a food processor or place them in a zip‑top bag and pulverize with a rolling pin until fine but still slightly textured.
All‑purpose flour gives the dough its backbone, creating a sturdy framework that holds the cheesecake filling without cracking. Using cake flour would make the cookie too tender, while whole‑wheat would add a gritty texture you don’t want. If you’re gluten‑free, a 1:1 blend of rice flour and tapioca starch works surprisingly well.
The Texture Crew
Baking powder is the tiny lift that gives the cookie a gentle puff, ensuring the edges lift just enough to form that coveted “crack” where the cheesecake peeks out. Too much, and you’ll get a cake‑like texture; too little, and the cookies will be dense. A pinch of salt is the silent flavor enhancer, balancing the sweetness and amplifying the buttery notes—don’t underestimate its power.
Unsalted butter, softened to room temperature, creates a creamy, rich dough that spreads just enough to form a thin, crisp edge. Using salted butter throws off the delicate balance, making the cookies overly salty. If you’re dairy‑free, try a high‑quality plant‑based butter, but expect a slightly different flavor profile.
The Unexpected Star
Cream cheese is the heart of the filling, delivering that luxurious, tangy cheesecake experience. It must be softened before mixing; otherwise, you’ll end up with lumps that ruin the smooth texture. Full‑fat cream cheese works best—low‑fat versions become rubbery after baking.
Strawberry jam or preserves adds the final sweet touch, providing a burst of fruity brightness that cuts through the richness. Feel free to adjust the amount based on your sweetness preference; a tart strawberry preserve can add a pleasant contrast.
The Final Flourish
Brown sugar contributes moisture and a subtle caramel depth, making the cookie chewy on the inside while staying crisp on the outside. Swapping it for white sugar will give you a cleaner sweetness but lose that warm undertone. A single large egg acts as the binder, ensuring everything sticks together without making the dough too wet.
Pure vanilla extract is the aromatic glue that ties all flavors together, adding a warm, comforting note that makes the cookie feel like a hug from the inside. If you only have vanilla bean, scrape the seeds for an even richer flavor.
Everything's prepped? Good. Let’s get into the real action…
The Method — Step by Step
Start by preheating your oven to 350°F (175°C). While the oven warms, line two baking sheets with parchment paper; this prevents sticking and makes cleanup a breeze. In a large bowl, whisk together the graham cracker crumbs, all‑purpose flour, baking powder, and salt until evenly combined. That sizzle when the butter hits the dry mix? Absolute perfection—don’t skip this step.
Kitchen Hack: Use a hand mixer on low speed to blend the dry ingredients with the butter; it creates a uniform crumb that’s easier to shape later.In a separate medium bowl, cream together the softened butter and brown sugar until the mixture is light, fluffy, and pale yellow—about 2‑3 minutes. Add the egg and vanilla extract, beating until just combined; over‑mixing will develop gluten and make the cookies tough. Fold the wet mixture into the dry ingredients until a cohesive dough forms. The dough should feel soft but not sticky; if it sticks to your hands, add a tablespoon of flour.
Now for the cheesecake filling: In a clean bowl, beat the softened cream cheese until smooth, then add the sugar and vanilla extract for the filling. Beat until the mixture is silky and free of lumps—this is the moment of truth for texture. Gently fold the cream cheese mixture into the cookie dough, creating marbled pockets of cheesecake throughout. Watch Out: Over‑mixing at this stage can cause the filling to melt into the dough, losing that distinct cheesecake core.
Watch Out: If the cream cheese is too cold, it will create streaks; let it sit at room temperature for 15 minutes before mixing.Using a tablespoon or small ice‑cream scoop, portion out the dough onto the prepared baking sheets, spacing each mound about 2 inches apart. Lightly press the center of each mound to create a small well, then spoon a teaspoon of strawberry jam into the well. The jam should sit just below the surface, ready to melt into a glossy glaze as the cookies bake.
Place the trays in the preheated oven and bake for 12‑14 minutes, or until the edges turn a golden‑brown and the centers look set but still slightly soft. The aroma will fill your kitchen with a buttery‑cheesecake perfume that’s impossible to ignore. Rotate the trays halfway through for even browning.
Kitchen Hack: If you prefer a firmer cheesecake center, lower the oven temperature to 325°F and extend the bake by 3‑4 minutes.When the cookies are done, remove them from the oven and let them cool on the sheet for 5 minutes—this allows the jam to set into a glossy topping. Then transfer the cookies to a wire rack to cool completely; the cooling process is crucial for the cheesecake layer to firm up.
Once cooled, drizzle a thin line of extra strawberry jam over the tops for an added burst of color and flavor (optional but highly recommended). Store the cookies in an airtight container; they stay soft for up to three days and can be frozen for longer storage.
That’s it — you did it. But hold on, I’ve got a few more tricks that'll take this to another level, from plating tips to secret flavor boosters. Trust me, you’ll want to try them before the next batch.
Insider Tricks for Flawless Results
The Temperature Rule Nobody Follows
Always start with room‑temperature butter and cream cheese. Cold ingredients cause uneven mixing, leading to pockets of dough that bake unevenly. I once tried using butter straight from the fridge and ended up with a batch of flat, greasy cookies. Let them sit for at least 30 minutes; the dough will be pliable and easier to shape.
Why Your Nose Knows Best
Don’t rely solely on a timer. The moment the cookies start to smell nutty and the edges turn a light amber, they’re ready. Over‑baking turns the cheesecake filling rubbery. Trust your sense of smell; it’s the most reliable indicator of doneness.
The 5‑Minute Rest That Changes Everything
After mixing, let the dough rest in the refrigerator for at least half an hour. This rest hydrates the flour, relaxes gluten, and firms the butter, preventing excessive spread. I once skipped this step and ended up with cookies that spread into thin discs—no cheesecake center visible.
Jam Glaze Trick
Warm the strawberry jam slightly before adding it to the cookie center. Warm jam spreads more evenly, creating a smooth, glossy dome that doesn’t crack when the cookie cools. A quick 10‑second microwave burst does the trick.
Freezer‑Friendly Assembly
Shape and fill the cookies, then freeze them on a tray before baking. This pre‑freeze step ensures the cookies keep their shape and the cheesecake stays distinct. Transfer the frozen cookies to a baking sheet and bake as directed; you’ll get perfectly uniform results every time.
Creative Twists and Variations
This recipe is a playground. Here are some of my favorite ways to switch things up:
Chocolate Swirl
Replace half of the strawberry jam with a generous spoonful of melted dark chocolate. The result is a decadent chocolate‑strawberry marble that satisfies both cravings. Chocolate lovers will swear it’s a new favorite.
Nutty Crunch
Stir in ¼ cup of finely chopped toasted almonds or pecans into the dough before baking. The nuts add a satisfying crunch that contrasts with the creamy cheesecake core. Perfect for those who love texture.
Citrus Zing
Add the zest of one lemon to the cheesecake filling and swap strawberry jam for orange marmalade. The citrus brightens the flavor profile, turning the cookie into a summer refresher.
Vegan Delight
Swap butter for coconut oil, use a plant‑based cream cheese, and choose a jam with no added gelatin. The texture remains luscious, and the flavor stays true to the original.
Miniature Bites
Form the dough into bite‑size balls, bake for 8‑10 minutes, and top each with a dollop of jam after cooling. These mini treats are perfect for cocktail parties or as a garnish for ice‑cream.
Storing and Bringing It Back to Life
Fridge Storage
Place the cooled cookies in an airtight container lined with parchment paper. They’ll stay fresh for up to three days, with the cheesecake filling staying firm and the jam retaining its shine. If you notice the cookies drying out, place a slice of fresh apple in the container to maintain humidity.
Freezer Friendly
Arrange the fully cooled cookies on a baking sheet, freeze until solid (about 2 hours), then transfer to a zip‑top freezer bag. They’ll keep for up to two months. When ready to enjoy, let them thaw at room temperature for 15 minutes, then pop them in a 300°F oven for 5 minutes to refresh the crust.
Best Reheating Method
To revive a day‑old cookie, preheat your oven to 325°F, place the cookie on a foil‑lined tray, and warm for 4‑5 minutes. Add a tiny splash of water (about a teaspoon) to the tray before heating; the steam helps the cheesecake melt back to its original creamy consistency without drying out.